Your browser is blocking content on this website. Please check your browser settings and try again.
This blog post demonstrates how to set up a basic PHP application to authenticate and authorize using OpenID Connect Code flow. The PHP OpenID Connect Client is used to implement the client-side authentication and validation logic and the Apereo CAS server is used to act as an OpenID Connect identity provider.
Our starting position is as follows:
- CAS
6.3.x - Java
11 - PHP
7or later - CAS WAR Overlay
- PHP OpenID Connect Basic Client
CAS Configuration
Once you have the correct modules in the WAR overlay for OpenID Connect, you will need to make sure the client application is registered with CAS as a relying party:
{
  "@class": "org.apereo.cas.services.OidcRegisteredService",
  "clientId": "client",
  "clientSecret": "secret",
  "serviceId": "^http://localhost.*",
  "name": "OIDC",
  "id": 1,
  "scopes" : [ "java.util.HashSet", [ "profile", "openid", "email" ] ]
}
PHP Client Application
The PHP OpenID Connect Basic Client is a PHP library that allows an application to authenticate a user through the basic OpenID Connect flow. We can use Composer, a dependency manager for PHP, to pull down the library and make it available to our application:
composer require jumbojett/openid-connect-php
The typical PHP setup in a client.php file is as follows:
<?php
require __DIR__ . '/vendor/autoload.php';
use Jumbojett\OpenIDConnectClient;
$oidc = new OpenIDConnectClient(
    'https://sso.example.org/cas/oidc/',
    'client',
    'secret'
);
$oidc->addScope('email');
$oidc->setRedirectURL("http://localhost:8000/client.php");
$oidc->authenticate();
$name = $oidc->requestUserInfo('email');
?>
If the identity provider is sitting behind self-signed certificates, the following instructions can be used temporarily to disable TLS-related checks before authentication:
$oidc->setVerifyHost(false);
$oidc->setVerifyPeer(false);
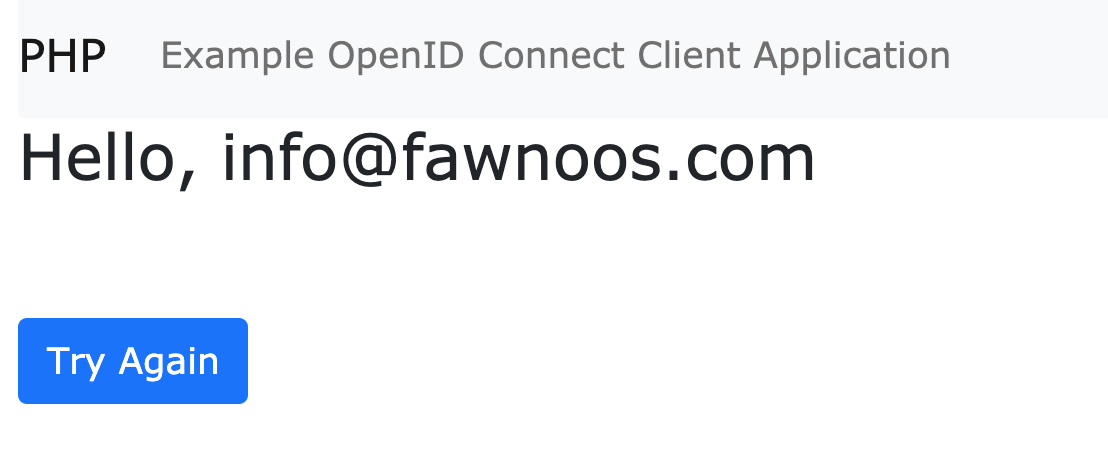
At the end of the OpenID Connect exchange, the email claim value is stored in a name variable that can be used in the HTML markup:
<p>Hello, <?php echo $name; ?></p>
To help with the testing process, the client application can be run using the PHP embedded web server:
php -S localhost:8000
Testing
We can start the process by presenting a welcome screen to the user:
Once we begin the process, the authentication flow will redirect the browser to CAS. After a successful authentication attempt, w are asked to consent to the release of the requested scopes and claims:
Finally, our client application can ultimately ask for the email claim, and be granted its value as part of the authenticated user’s profile:
Need Help?
If you have questions about the contents and the topic of this blog post, or if you need additional guidance and support, feel free to send us a note and ask about consulting and support services.
So…
I hope this review was of some help to you and I am sure that both this post as well as the functionality it attempts to explain can be improved in any number of ways. Please feel free to engage and contribute as best as you can.
Happy Coding,
-
info@fawnoos.com
Monday-Friday
9am-6pm, Central European Time
7am-1pm, U.S. Eastern Time
-
+1 347 746 4665
Monday-Friday
9am-6pm, Central European Time


